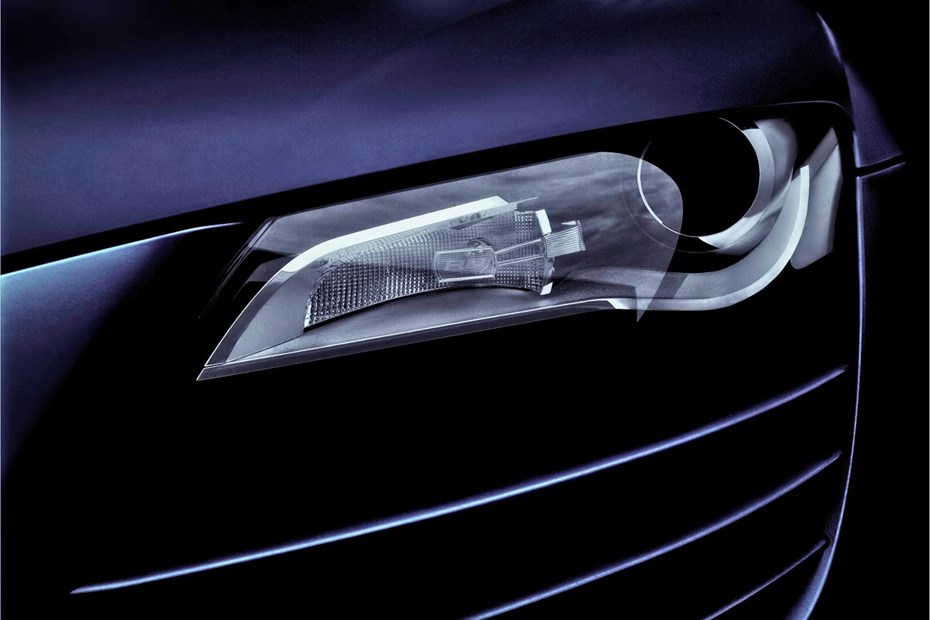


Headlight restoration kits can be a cost-effective, useful way to restore life into your headlights without the expense of replacing them. It’s a bit like polishing your paint, only with headlights. A quick search on eBay reveals a set of new headlight units for a MK7 VW Golf are worth at least £400. So, where you can, it will be worth restoring the old set if you’ve noticed they’ve faded.
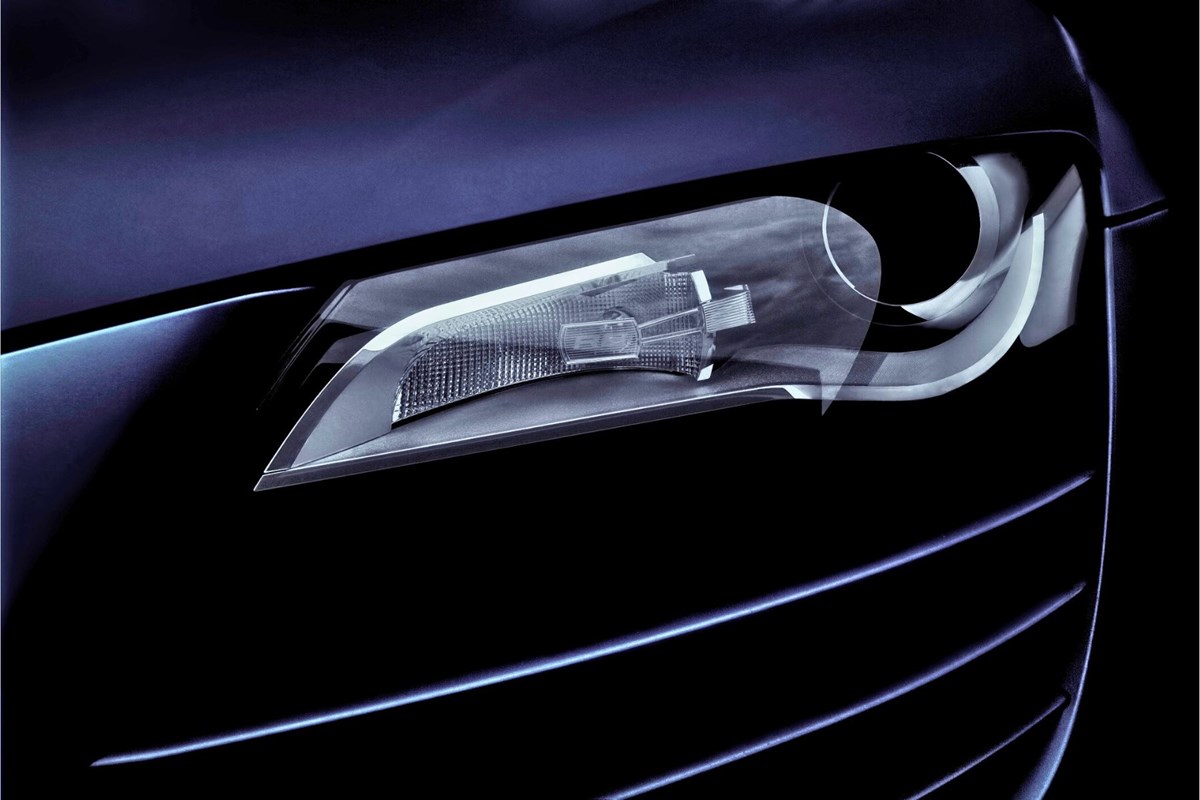
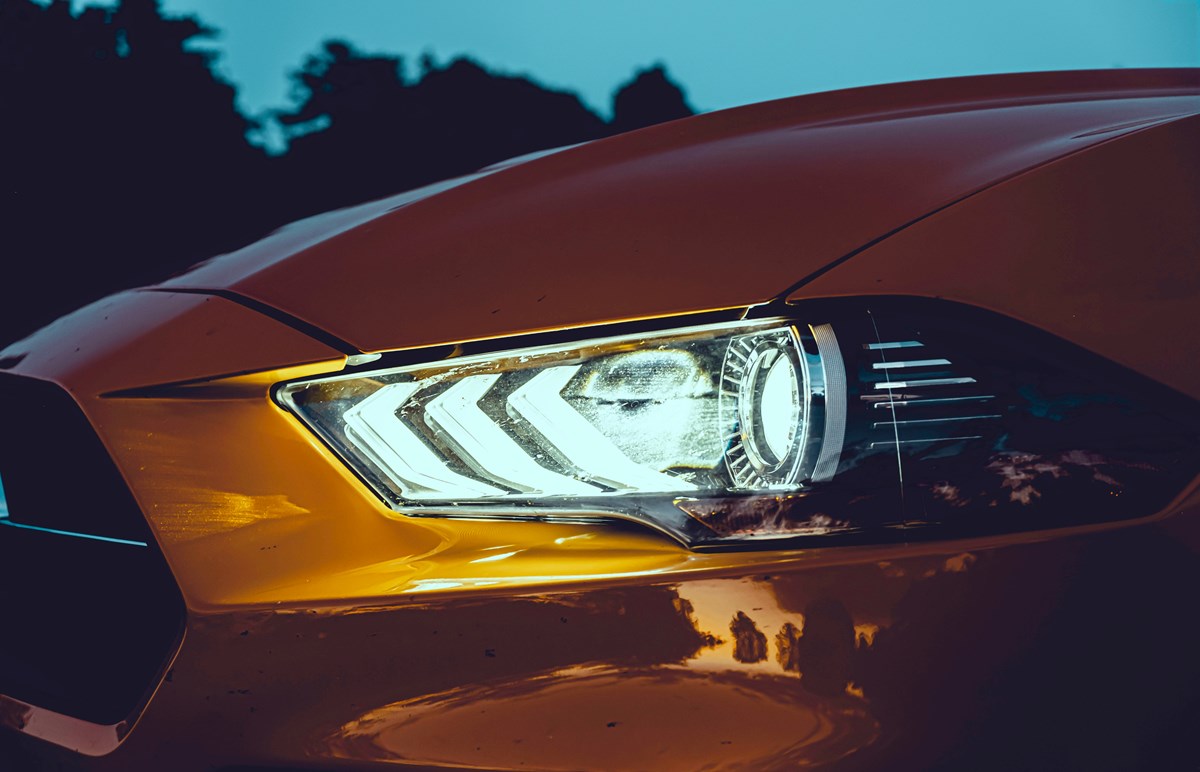
Over time, headlights can fade out. They usually have a yellow-ish fog effect or aren’t quite as transparent as they should be. This is usually due to UV rays from sunlight, and it kills the glossiness that your headlights should have.
You can tackle faded headlights by either using a machine – such as a drill to attach the applicator to – or by hand. What you need is a bottle of product, some sandpaper, and a polishing applicator. A machine is optional but hugely beneficial and time-saving. The same story goes for paint polishing kits as well.
The best headlight restoration kits at a glance:
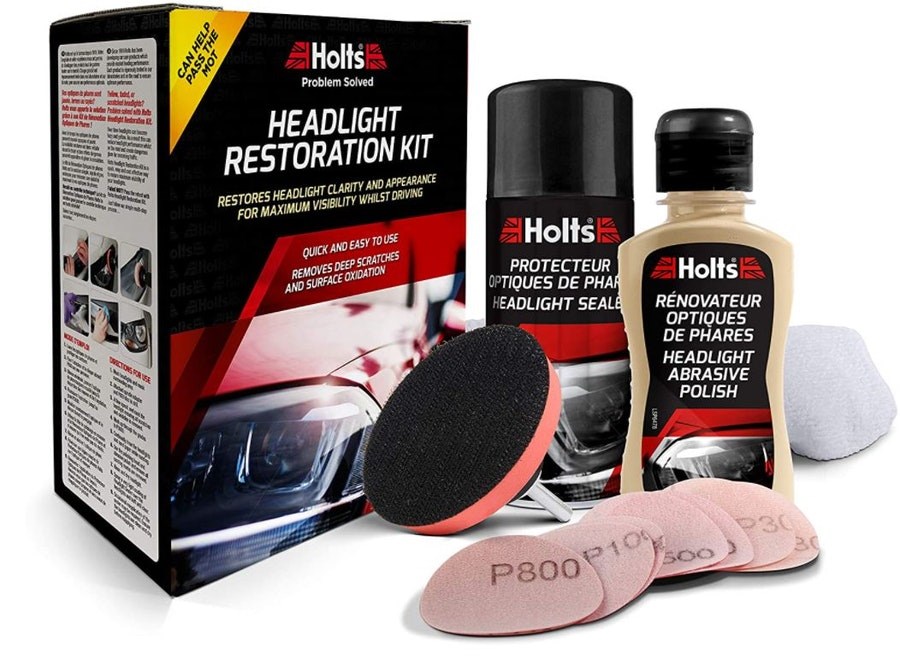
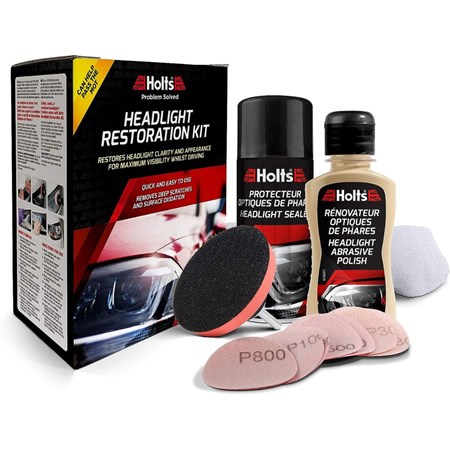
Editor’s pick: Holts Headlight Restoration Kit – Buy from Amazon.
Best quality headlight restoration kit: Autoglym Headlight Restoration Complete Kit – Buy from Amazon.
Best headlight masking tape: 3M car protection masking tape – Buy from Amazon.
Just like our scratch repair kit guide, we’ve recommended the best headlight restoration kits available. Additionally, we’ve provided a small rundown of how to do it and what extra equipment you might need.
The best headlight restoration kits:
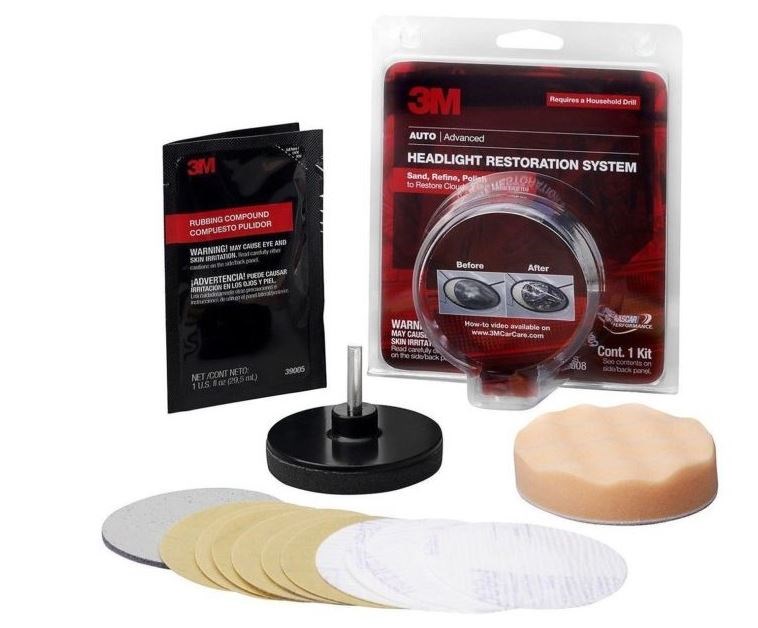
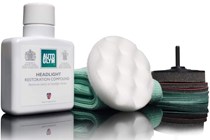
Editor's pick
Rrp: £22.99


Rrp: £22.99
Pros
- Comprehensive kit for the price
- Effectively restores headlights
Cons
- Doesn't include electric drill
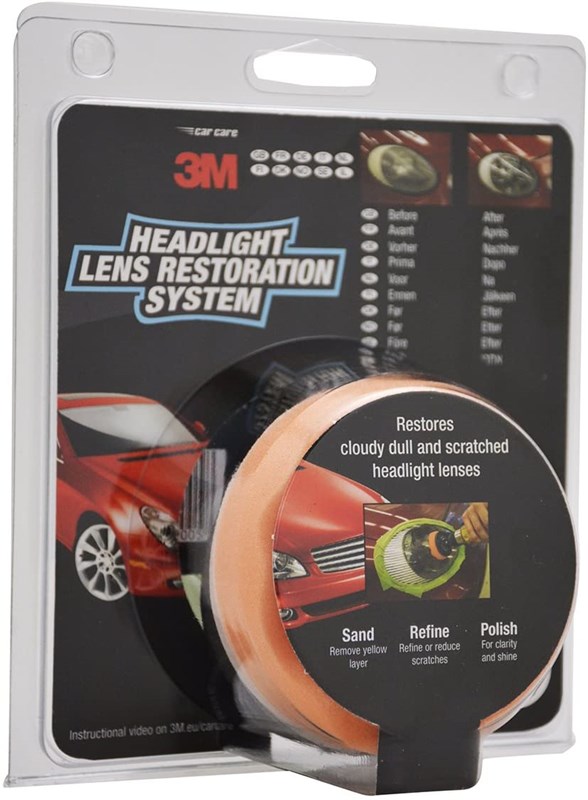
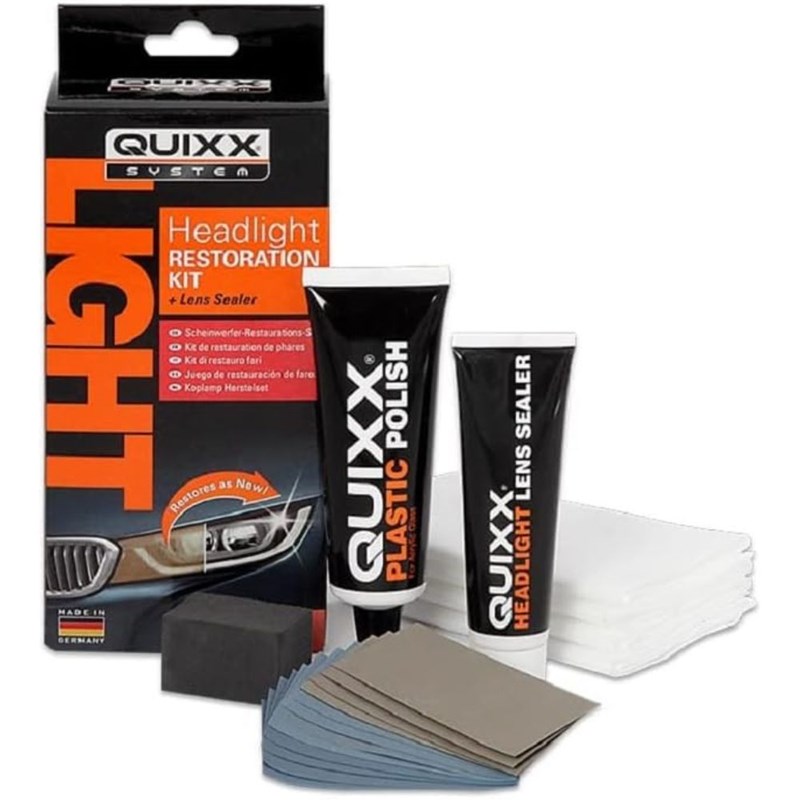
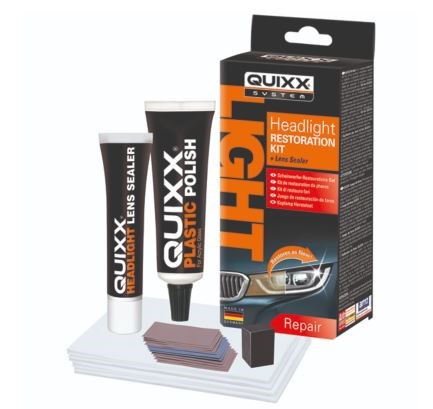
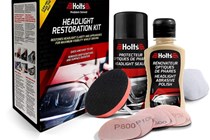
Best entry-level headlight restoration kit

Rrp: £15.21
Rrp: £15.21
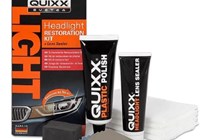
The kit contains plastic polish, sealer, 4 professional polishing cloths, 2000, 3000 and 5000-grade sandpapers, and 1 sanding block.
Pros
- Good amount of kit included
- Great value for money
Cons
- Doesn't include drill
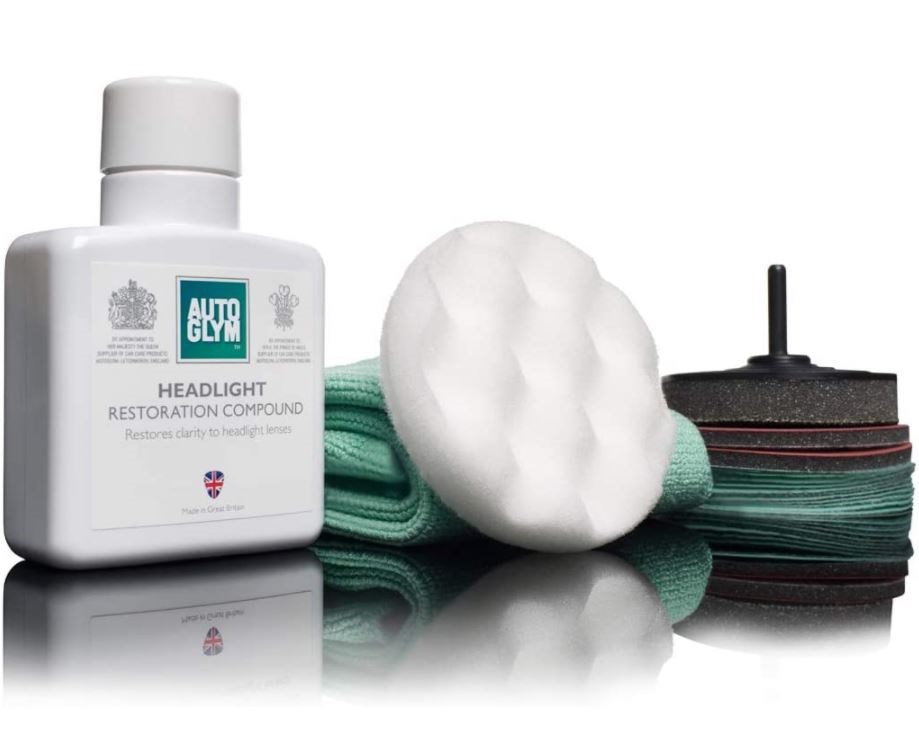
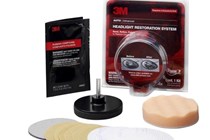
Best quality headlight restoration kit
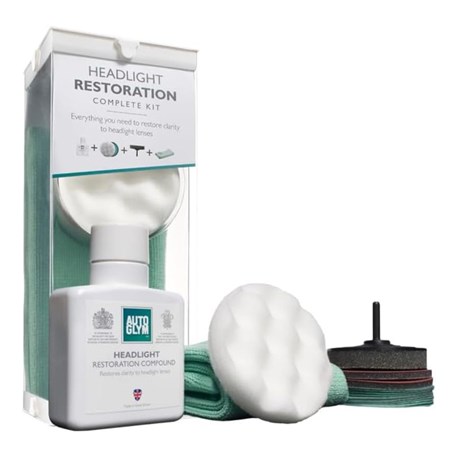
Rrp: £28.49
Rrp: £28.49
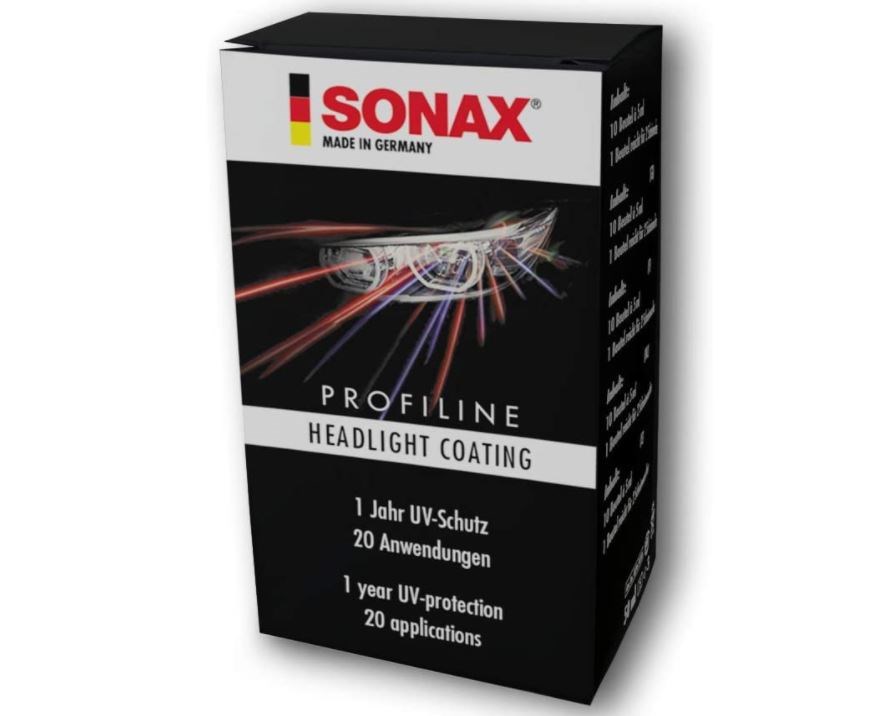
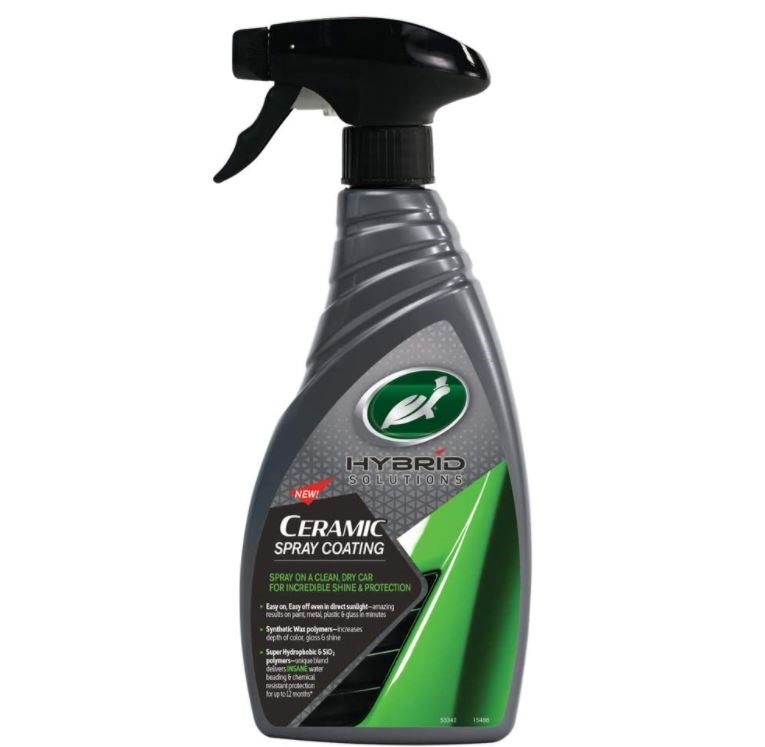
The only drawback here is that despite being called a complete kit, it does not come with a sealant to apply after sanding and polishing. But see the Sonax Headlight Coating and Turtle Wax Ceramic Spray further below.
Pros
- Will leave a good quality finish after application
- Compatible with a drill
Cons
- Doesn't include sealant, despite being labelled as a full kit
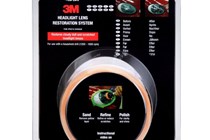
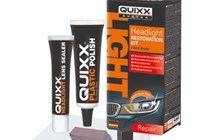
Best attachment kit
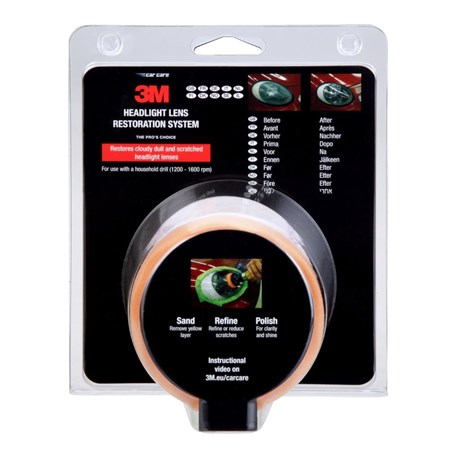
Rrp: £23.99
Rrp: £23.99
Pros
- Ideal starter pack
- Three simple steps outlined
Cons
- Doesn't come with machine to put applicator on
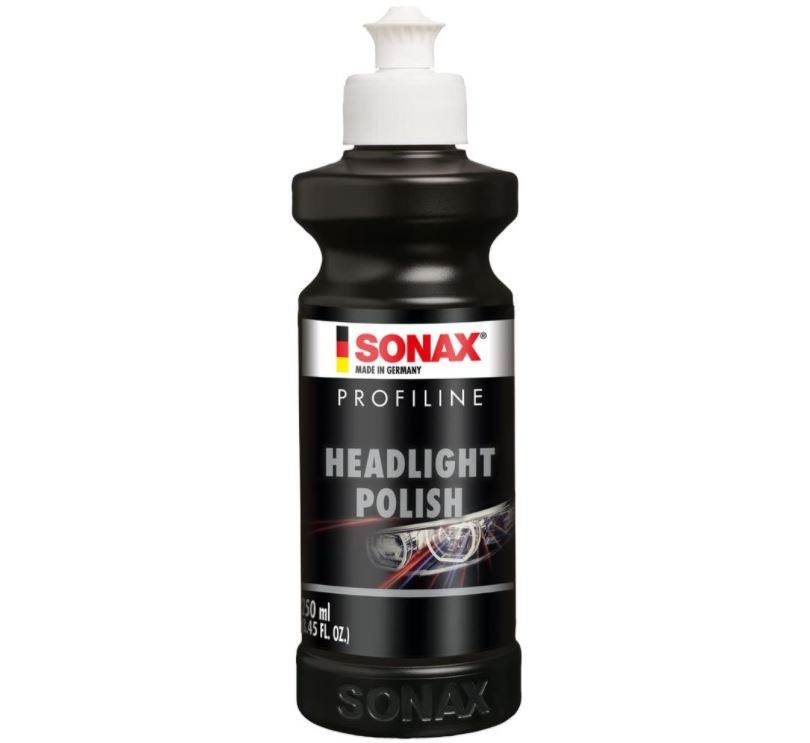
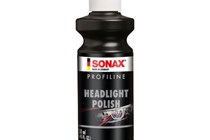
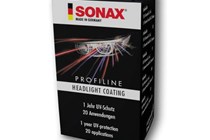
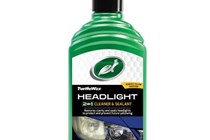
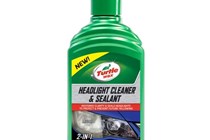
Best headlight sealant
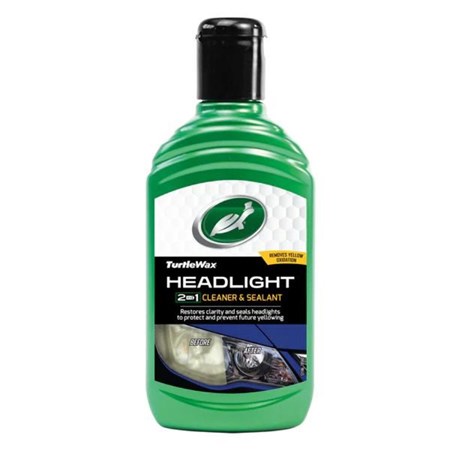
Pros
- Easy to apply
- Provides a layer of protection
Cons
- Isn't the answer to really faded headlights
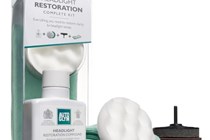
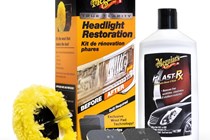
Best multi-purpose restoration kit
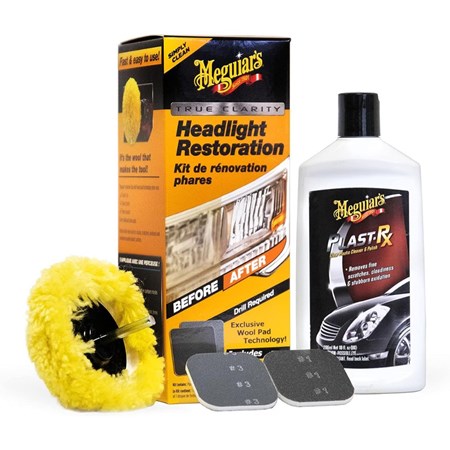
Rrp: £36.00
Rrp: £36.00
Not only is the kit suitable for car headlights but also motorcycle windscreens, helmet visors, and more, according to Meguiar's. Included in the kit is a soft applicator pad which can be attached to rotary machines to spin it.
Pros
- Suitable for a number of purposes
- Includes a decent amount of kit
Cons
- Machine not included
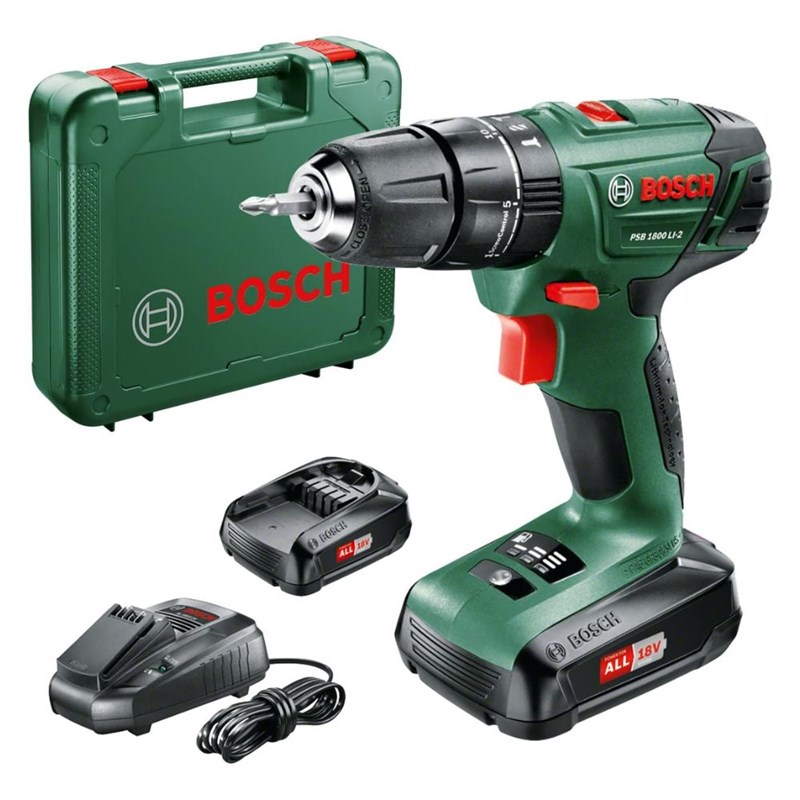
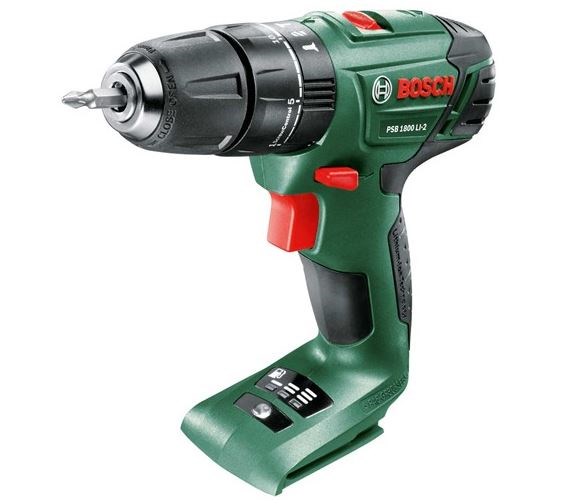
Best drill for headlight restoration
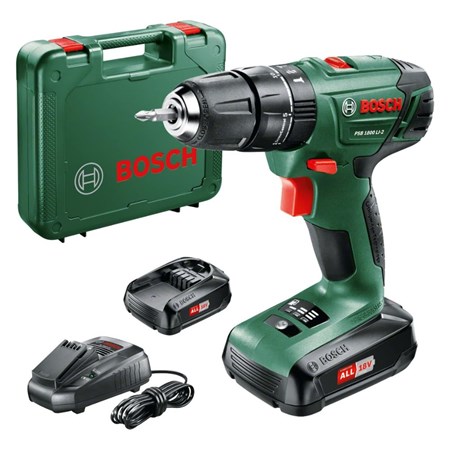
It can be bought as a tool only for those who already possess Bosch Power4All 18V batteries or in a kit for those who don't.
Pros
- Good build quality
- Variable torque settings
Cons
- Quite chunky for some
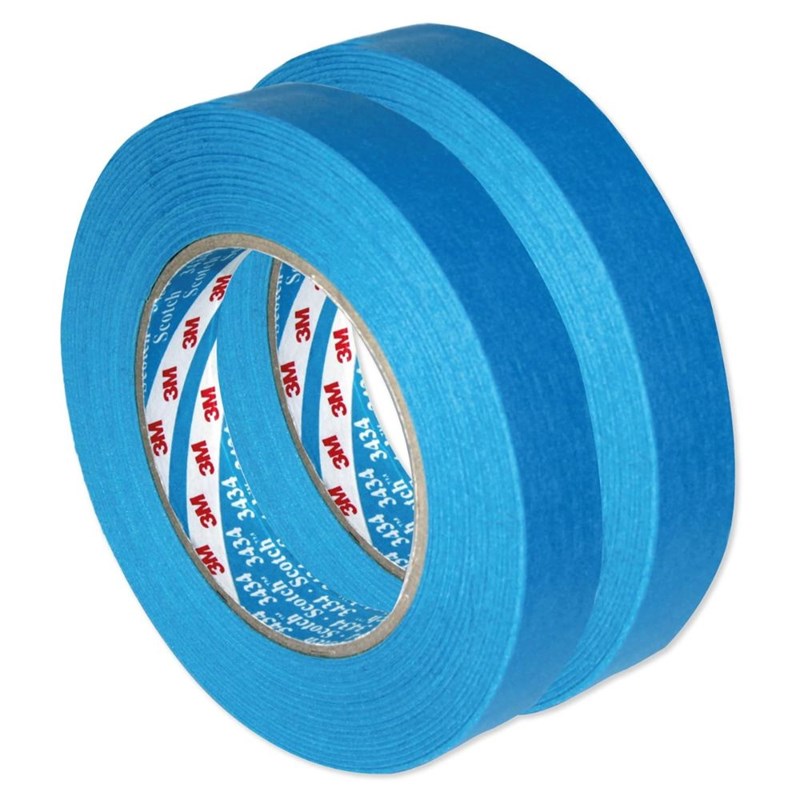
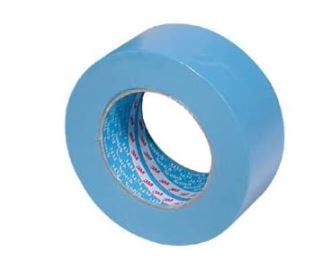
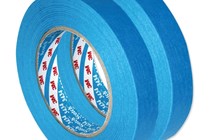
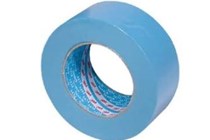
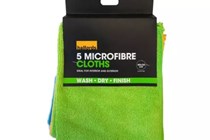
Best headlight masking tape

3M's car masking tape is great value, thin enough to wrap around the headlights neatly, and sticks well enough throughout the process. With masking tape like this, you should never leave it for too long otherwise, it'll become very sticky to remove.
Pros
- Does what you ask it to do
- Thin enough to curve around the light-shape
Cons
- Hard to get off if you leave it for too long
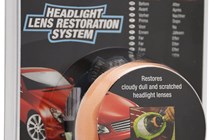
How to use headlight restoration kits
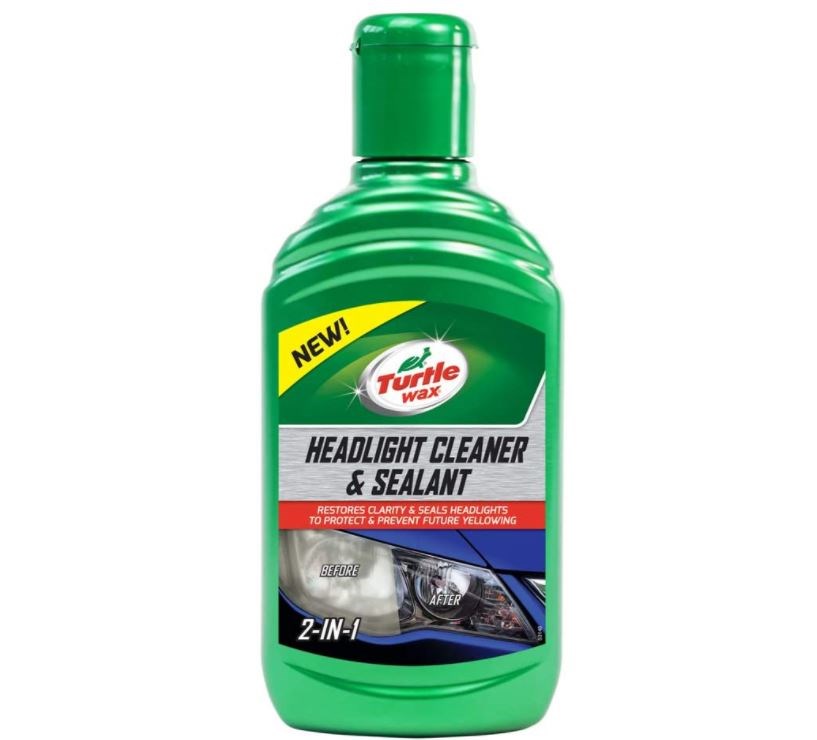
Aside from the Turtle Wax 2-in-1 product, the kits above follow the same procedures for restoring degraded headlights. It’s a bit more of a multi-stage process than applying chrome cleaners, but headlight restoration is a job that can be tackled at home. Once you have everything you need, you will need to:
1. Wash and dry the headlights in order to get rid of loose dirt.
2. Tape around the edges of the headlights. This is very important because the tape will protect surrounding paintwork from sanding pads that accidentally stray from the headlight.
3. Sanding. All the kits above come with a range of sanding pads with varying degrees of abrasiveness. Follow the instructions in your kit and work your way through the sanding pads, starting with the most abrasive through to the least. Both the sandpaper and headlights should be wet during the sanding process to keep the plastic cool and prevent grit build-up as you sand. Take your time and be fussy.
4. Once you have finished sanding, wipe clean and dry the headlights. Apply the polish, either by hand or with the drill pad provided in a circular motion to ensure even and full coverage. It’s a more thorough process than using a clay bar on your paint, but you can be proud of the results when finished.
5. Apply headlight sealant to protect your hard work. Not applying a protective sealant will mean headlights will degrade again very quickly. Follow the application instructions of each individual brand.
How to maintain clean headlights
Don’t polish headlights outside of using a restoration kit without applying a sealant on top. Polish is abrasive and will wear down the protective coating faster. Clean the headlights when washing the rest of your car to remove abrasive grit and acidic matter, such as bird poo. UV rays can degrade headlights, too. So, park out of direct sunlight where possible. And don’t try and use a cutting compound on your headlights.
Aaron Hussain is a commercial content writer at Bauer Media writing for Parkers and CAR. He is obsessed with classic cars and anything with a fascinating story to tell.
Sign up to the Parkers Newsletter to keep up to date with more of the latest reviews, news, and recommendations from the Parkers team.
Just so you know, while we may receive a commission or other compensation from the links on this page, we never allow this to influence product selections – read why you should trust us